Disclaimer – this worked on my hardware, it may not work on yours. This is based off the instructions on the Arch Wiki please refer to that for specific instructions.
First steps are to download the .iso from the Arch Website and write to to a USB drive so that it’s bootable. Boot into your system from the USB drive and you should see a command prompt and a welcome to Arch Linux message. Then proceed with the following…
Step 1: Partition the disks
For partitioning the disks, use fdisk.
Use this command to list all the disk and partitions on your system:
fdisk -l
Your hard disk should be labelled /dev/sda or /dev/nvme0n1. Please use the appropriate disk labeling for your system. Mine is /dev/sda
First, select the disk you are going to format and partition:
fdisk /dev/sda
Create an EFI System Partition (for UEFI Systems only)
Delete any existing partitions on the disk using command d, then create new partitions with command n.
When you enter n, it will ask you to choose a disk number, enter 1. Stay with the default block size, when it asks for the partition size, enter +512M.
One important steps is to change the type of the EFI partition to EFI System (instead of Linux system).
Enter t to change type. Enter L to see all the partition types available and then enter its corresponding number to the EFI system (for me it was ‘1’)
Create root partition
Create a single root partition with no swap. After installation a swap file can be created instead of a separate partition.
While you are in the fdisk command, press n to create a new partition. It will automatically give it partition number 2. This time keep on pressing enter to allocate entire remaining disk space to the root partition.
When you are done with the disk partitioning, enter w command to write the changes to the disk and exit out of fdisk command.
Step 2: Create filesystem
Creating file system for UEFI system
So, you have two disk partitions and the first one is EFI type. Create a FAT32 file system on it using the mkfs command:
mkfs.fat -F 32 /dev/sda1
Now create an Ext4 filesystem on the root partition:
mkfs.ext4 /dev/sda2
Step 3: Connect to WiFi
If you have an ethernet connection you can skip this step as you should already have an internet connection.
If not, you can connect to WiFi interactively using this helpful utility called wifi-menu. Just enter this command and follow the steps:
wifi-menu
You should be able to see the active connections and connect to them using the password. Once you are connected, check if you could use internet by using the ping command:
ping google.com
If you get bytes in reply, you are connected.
Step 4: Select an appropriate mirror
Sync the pacman repository so that you can download and install software:
pacman -Syy
Now, install reflector too that you can use to list the fresh and fast mirrors located in your country:
pacman -S reflector
Make a backup of mirror list (just in case):
cp /etc/pacman.d/mirrorlist /etc/pacman.d/mirrorlist.bak
Get the mirror list with reflector (change your country from “US” to your own if needed)
reflector -c "US" -f 12 -l 10 -n 12 --save /etc/pacman.d/mirrorlist
Step 5: Install Arch Linux
Mount the partition where you installed the root ext4 system
mount /dev/sda2 /mnt
Install all the necessary packages with pacstrap:
pacstrap -K /mnt base linux linux-firmware vim nano sudo
Step 6: Configure the installed Arch system
Generate a fstab file
genfstab -U /mnt >> /mnt/etc/fstab
Now use arch-chroot and enter the mounted disk as root.
arch-chroot /mnt
Setting Timezone and clock
ReplaceAmerica/New_York with your time zone:
ln -sf /usr/share/zoneinfo/America/New_York /etc/localtime
Run hwclock(8) to generate /etc/adjtime:
hwclock --systohc
Setting up Locale
This is what sets the language, numbering, date and currency formats for your system.
The file /etc/locale.gen contains all the local settings and system language in a commented format.
Open the file using Nano and uncomment the language you prefer. I have used en_US.UTF-8 (US English).
nano /etc/locale.gen
Now generate the locale config in /etc directory file using the below commands one by one:
locale-gen
echo LANG=en_US.UTF-8 > /etc/locale.conf
export LANG=en_US.UTF-8
Network configuration
Create a /etc/hostname file and add the hostname entry to this file. Hostname is basically the name of your computer on the network.
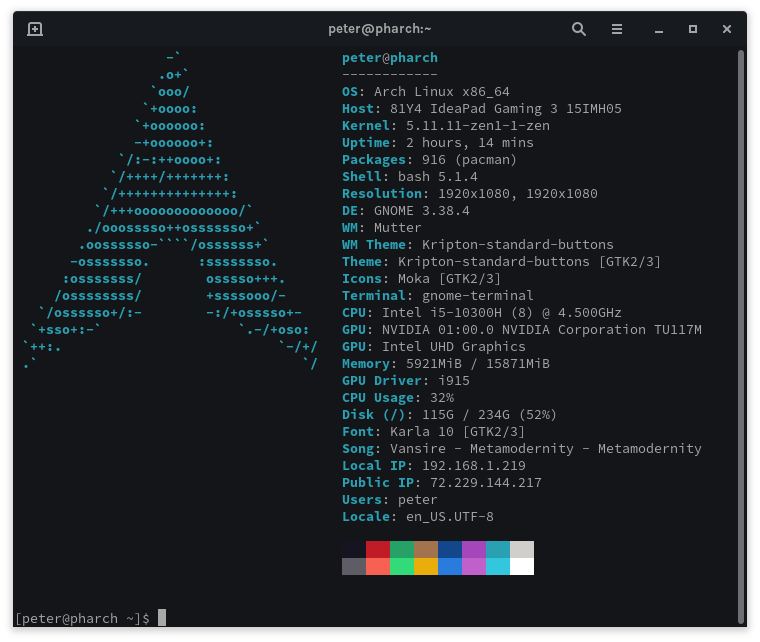
In my case, I’ll set the hostname as pharch. You can choose whatever you want:
echo pharch > /etc/hostname
The next part is to create the hosts file:
touch /etc/hosts
And edit with nano editor to add the following lines (replace pharch with hostname you chose earlier):
127.0.0.1 localhost
::1 localhost
127.0.1.1 pharch
Set up root passwd
You should also set the password for the root account using the passwd command:
passwd
Step 7: Install a desktop environment (GNOME, but there are others)
First step is to install X environment. Type the below command to install the Xorg as display server.
pacman -S xorg
Now, you can install GNOME desktop environment on Arch Linux using:
pacman -S gnome
The last step includes enabling the display manager GDM for Arch. I also suggest enabling Network Manager
systemctl enable gdm.service
systemctl enable NetworkManager.service
Step 8: Install alternate linux kernels
pacman -S linux-zen linux-lts linux-zen-headers linux-lts-headers
Step 9 : Install nvidia drivers
pacman -S nvidia nvidia-lts nvidia-utils nvidia-settings
enable the multilib repository
To enable multilib repository, uncomment the [multilib] section in /etc/pacman.conf:
nano /etc/pacman.conf
[multilib]
Include = /etc/pacman.d/mirrorlist
Then download the repository with pacman
pacman -Syy
Install 32-bit support for nvidia
pacman -S lib32-nvidia-utils
The next step is to get nvidia to work with any custom kernels you may have chosen before (I am using the zen kernel)
pacman -S nvidia-dkms
Add nvidia module to initramfs
nano /etc/mkinitcpio.conf
add the fillowing to the array of modules
MODULES=(nvidia nvidia_modeset nvidia_uvm nvidia_drm)
Save and exit the file, then:
mkinitcpio -P
Step 10: Add a new User with sudo privs:
Enable wheel group
EDITOR=nano visudo
This will launch the “/etc/sudoers” file with Nano editor.
Scroll down and un-comment the “wheel” group.
Save and exit, then (changing the username and password to those of your user):
useradd -G wheel -m <username>
Step 11: Install Grub bootloader (for UEFI only)
pacman -S grub efibootmgr os-prober
Create the directory where EFI partition will be mounted:
mkdir /boot/efi
Now, mount the ESP partition you had created
mount /dev/sda1 /boot/efi
Install grub:
grub-install --target=x86_64-efi --bootloader-id=ARCH-GRUB --efi-directory=/boot/efi
mount /dev/nvme0n1p1 /mnt
Use os-prober to detect your windows partition/disk
os-prober
Generate the grub config:
grub-mkconfig -o /boot/grub/grub.cfg
Step 11:exit and shutdown
Now exit from chroot using the exit command:
exit
And then shutdown your system
shutdown now
When you reboot you should see the grub interface with your arch install and windows install, start up arch and continue setting up your system,